The goal of this project is to match lighting of a CG object to the real world.
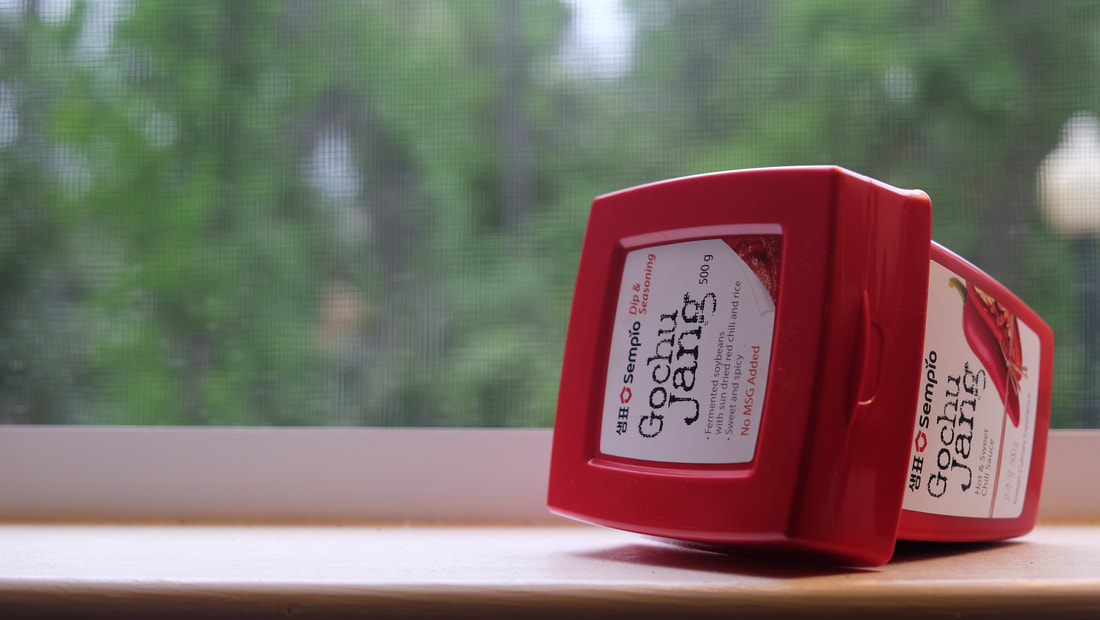
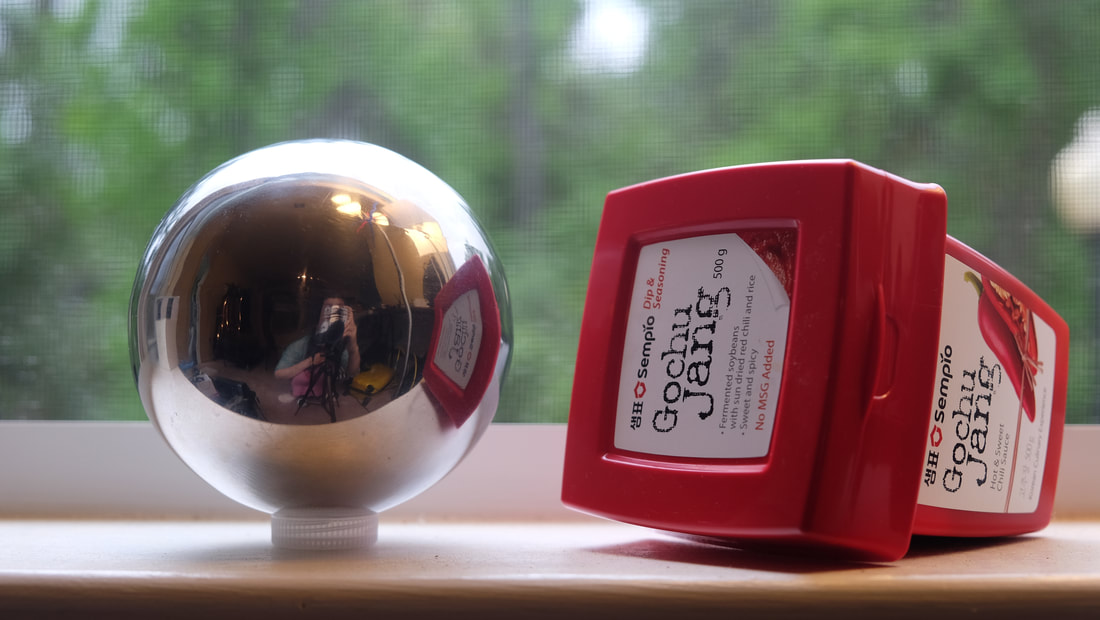
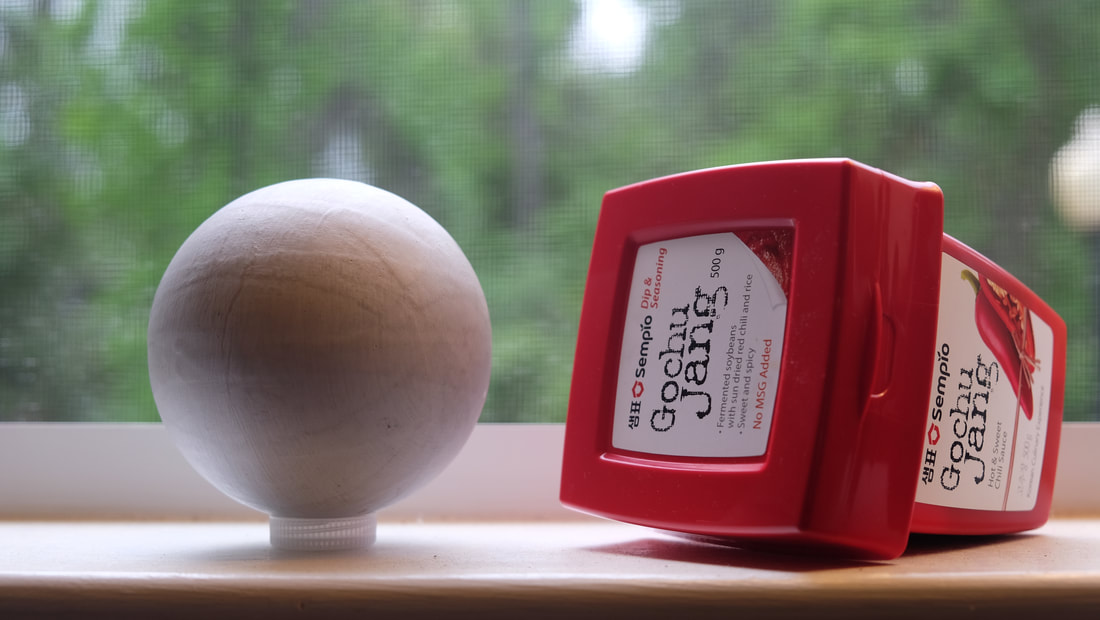
Photos Needed for Lighting
|
Function of these photos:
|
|


|
|
Click to See the Image |
Softwares / Work Flow / Basic Settings
|
|
|
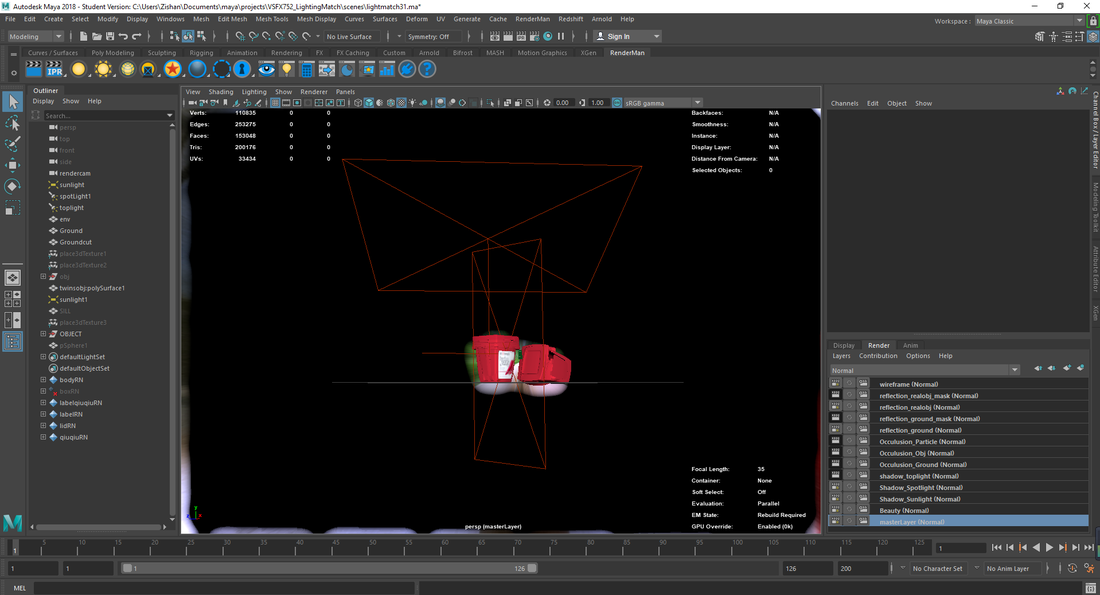
Basic workflow is using Render Layer to render different parts separately in Maya (with Arnold). Then composite in Nuke.
For the FX I import cache from Houdini to Maya.
For the FX I import cache from Houdini to Maya.

Click to See the Image
To set up Maya Scene, use digified.net/focallength/ to calculate focal length in Maya.
In my case. The camera I used for taking those photos was Fujifilm X-T10; and my focal length was 30mm. The Crop Factor for my camera is 1.5.
So I typed in all the information on that website. Then I got my focal length in Maya was 45mm.
In my case. The camera I used for taking those photos was Fujifilm X-T10; and my focal length was 30mm. The Crop Factor for my camera is 1.5.
So I typed in all the information on that website. Then I got my focal length in Maya was 45mm.
The most important part in this project is using Render Layer.
Except the Wire Frame Layer and the Master Layer, I have 11 layers in total. They are:
Except the Wire Frame Layer and the Master Layer, I have 11 layers in total. They are:
Turn off the primary visibility on ground plane and the twin object. Only render the main object.
|
What we have in those layers:
Main Object + Each Light + Ground Plane Turn off the primary visibility on main object. Only render ground plane. |
What we have in those layers:
Main Object + Ground Plane Both Object/FX particles and the ground plane are using aiAmbientOcclusion shader. Only render the one you need in each layer. Turn off the primary visibility on the other one. |
What we have in those layers:
Main Object + Ground Plane/Twin Object + Keylight for the reflection layers: Turn off the primary visibility on main object. The shader for the ground plane/Twin Object is Mirror. for the mask layers: The main object is using surfaceshader shader. Turn off the primary visibility on main object. The shader for the ground plane/Twin Object is Mirror. |
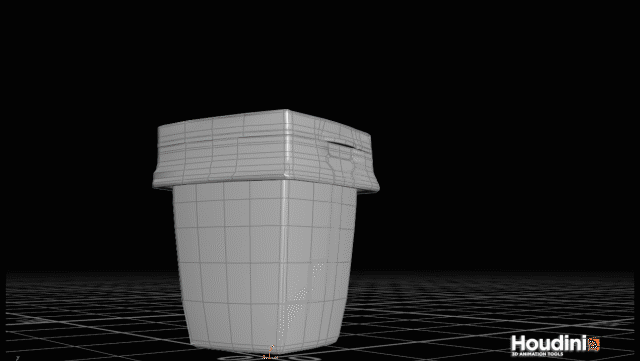
Modeling / Shading
|
|

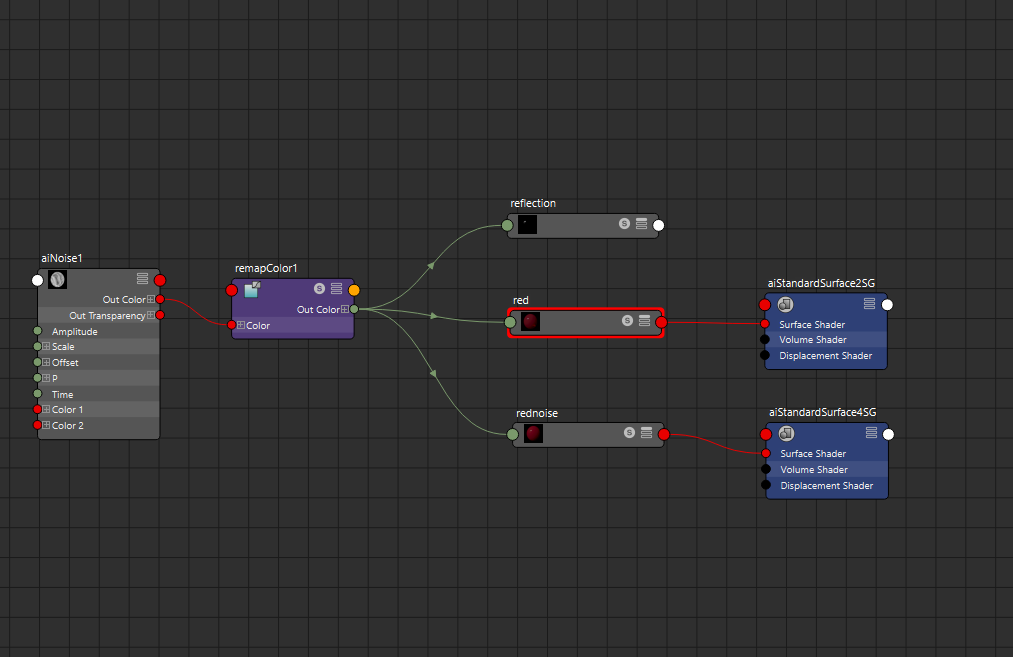
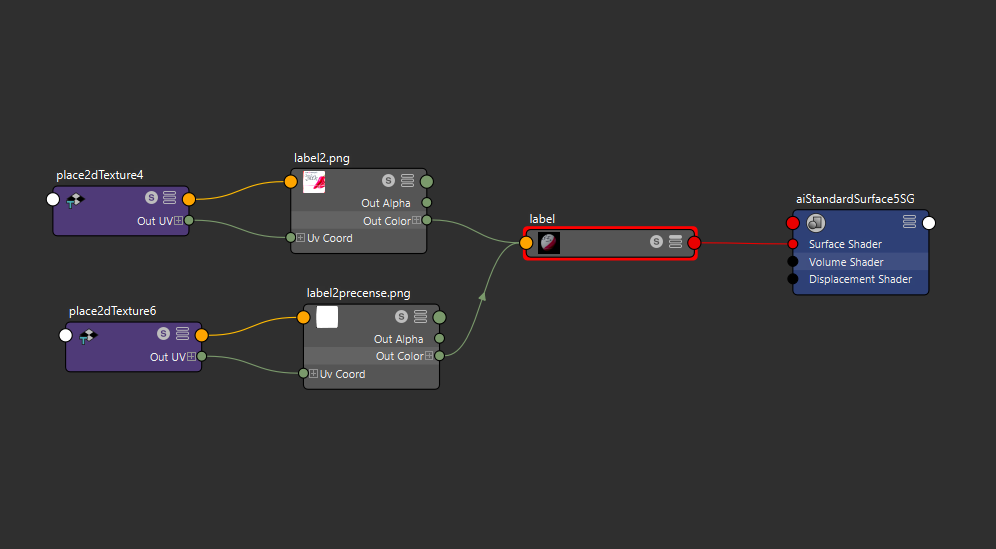
|
|
Click to See the Image
|
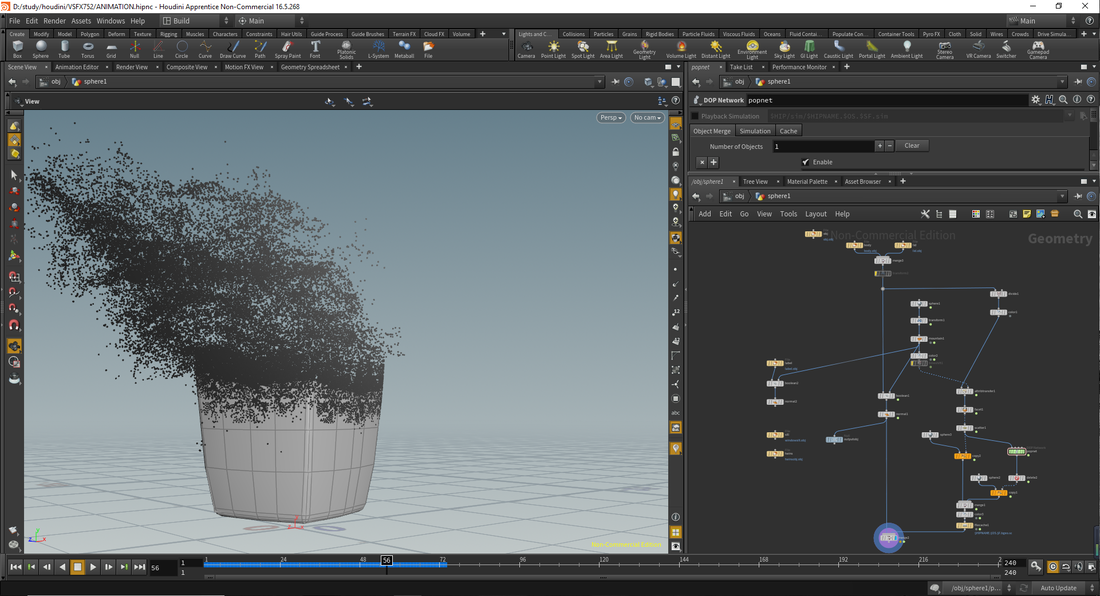
FX in Houdini
Basically, I use scatter and popnet to make this simple Disintegrating FX.
- My Density on Scatter is 300.
- My Constant Birth Rate on Popnet is 20000.
FX Test Flipbook
|
Disintegrate Geometry Tutorial
|